Hunting Simulator 3 tips: Beginner Hunting Guide
Learn essential Hunting Simulator 3 tips for licenses, tracking, gear, dogs, and settings, plus the demo limits to know before your first hunt.
A promising hunt can unravel before your first shot if you bring the wrong ammunition or forget a license. These Hunting Simulator 3 tips help you avoid wasted trips and spend more time finding wildlife instead of sorting through menus. Whether you’re exploring the demo or preparing for launch, the most useful Hunting Simulator 3 tips start with a simple habit: match your target, equipment, and hunting time before leaving the lodge.
Updated October 26, 2026: The full game is scheduled for October 29 on PC, PlayStation 5, and Xbox Series X|S. Gameplay details below draw on a pre-release beginner walkthrough and are labeled as player experience where relevant; menus, values, and availability may change at launch.
1. Know What the Demo Actually Lets You Do
Before planning upgrades or a long hunting session, separate the public demo’s restrictions from the broader systems shown in preview gameplay.
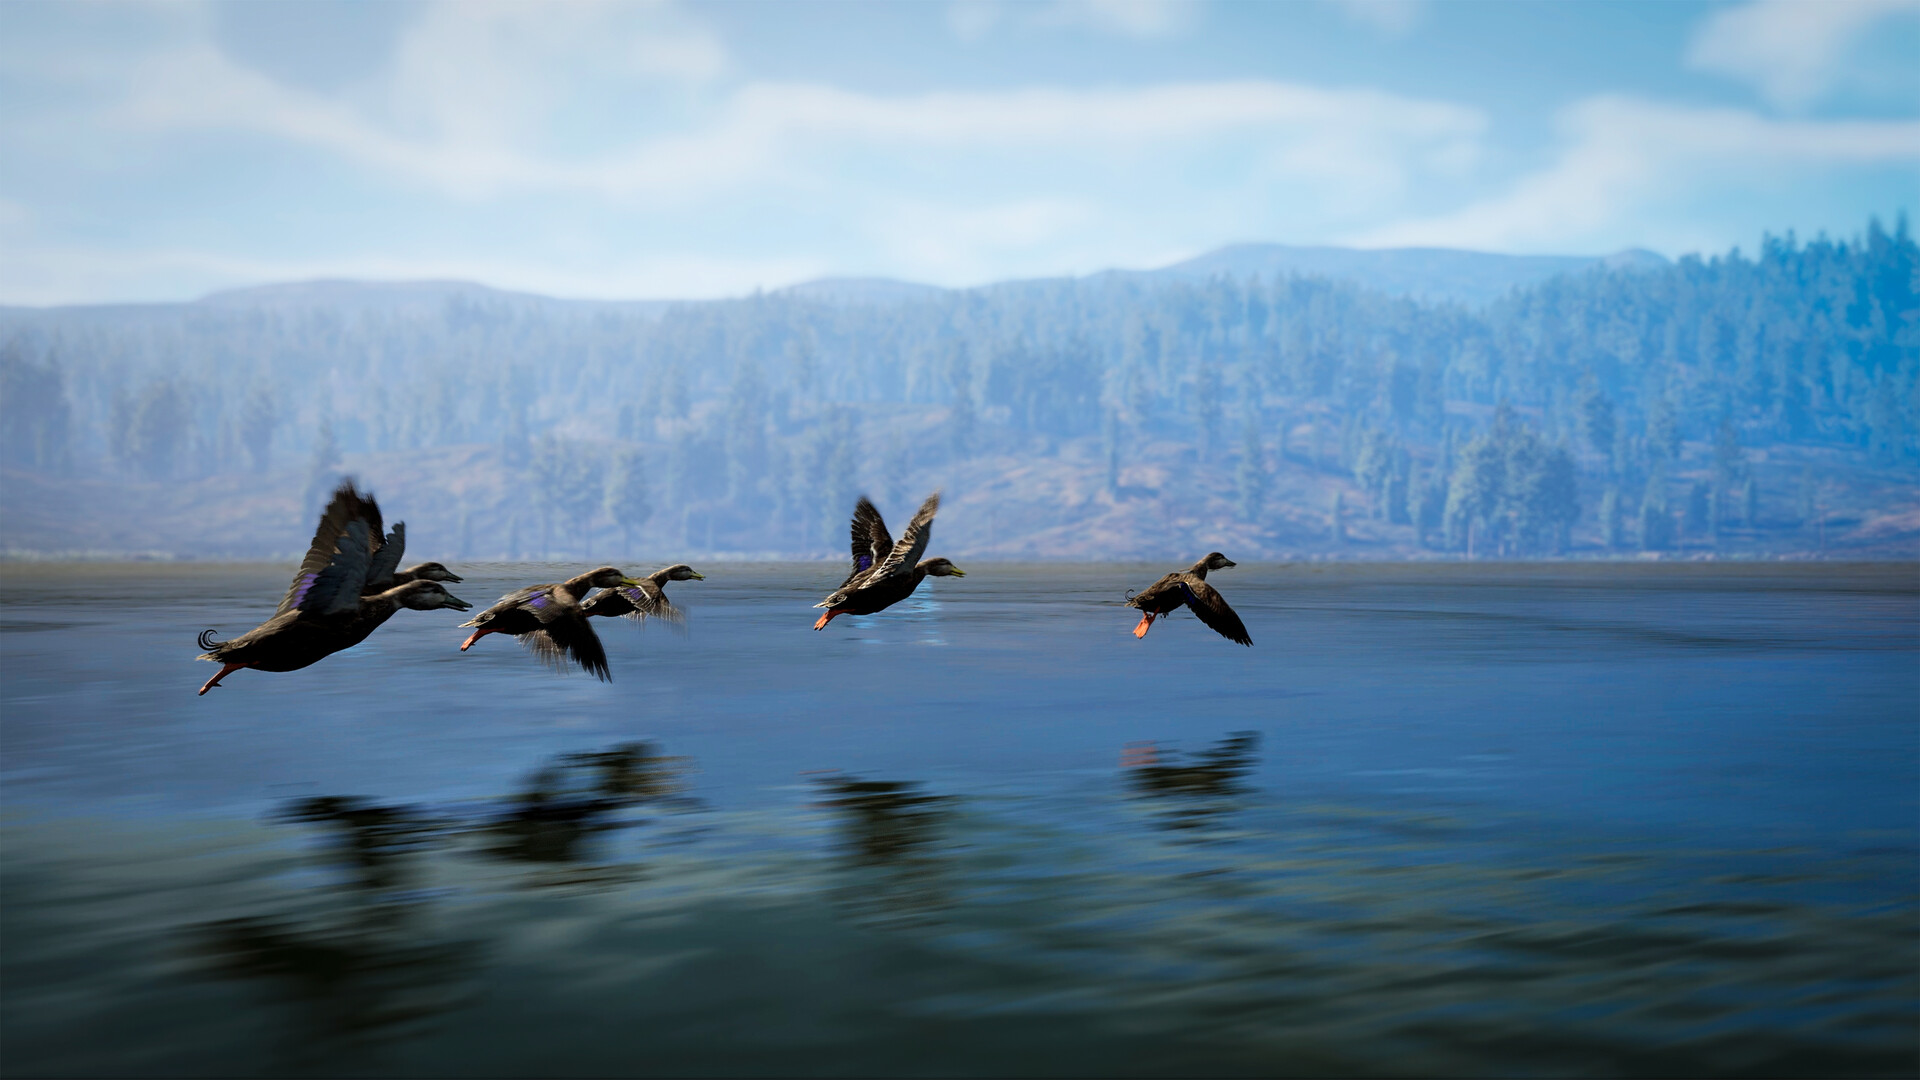
Official screenshot · Source: Steam store
The official Hunting Simulator 3 Steam announcements confirm that the demo includes the starting headquarters, shooting range, a restricted section of Colorado, and the opening mission, A Matter of Rabbits. You can also try a Retriever or Hound and drive a Polaris UTV.
Most importantly, demo progress is not saved, and hunts do not award in-game currency. Treat it as a practice session, not a progression grind.
| Feature | Officially described demo availability | Best use of your time |
|---|---|---|
| Starting HQ and shooting range | Included | Learn equipment menus and practice aiming |
| Colorado reserve | Restricted area | Learn navigation without planning distant routes |
| Opening mission | A Matter of Rabbits | Follow the introduction to hunting systems |
| Licensed hunting | Three licensed species | Check which animals you can hunt and bag |
| Dog companions | Retriever or Hound | Practice companion controls |
| Polaris UTV | Available | Learn driving and travel management |
| Saved progress and hunt currency | Not available | Focus on skills rather than farming |
Other wildlife may appear beyond the three licensed species, but spotting an animal does not mean its license is available or that you can bag it.
An older announcement listed October 26 as the demo’s end date. The latest supplied official update extends availability until the October 29 launch.
Of all the Hunting Simulator 3 tips for demo players, this is the biggest time-saver: practice the hunting loop instead of trying to build wealth that the demo does not award.
2. Prepare Your License, Weapon, and Loadout Together
According to player experience from the pre-release walkthrough, the licenses screen does more than list permits. It also shows license status and the calibers approved for individual animals.
That makes it a useful field reference. Don’t assume a cartridge is accepted simply because it seems powerful enough or works for that species in another hunting game.
Check ammunition compatibility before leaving
Use this preparation order:
- Choose a target species.
- Check its license status.
- Review its approved ammunition.
- Equip a compatible weapon and ammunition combination.
- Confirm your scope, attachments, and support gear.
The walkthrough demonstrates different rifle chamberings, shotgun loads, and arrow weights. Those choices matter: player experience indicates that inappropriate ammunition can reduce your hunting rating.
Avoid treating one rifle caliber as a universal solution. The game’s own compatibility information should take priority over assumptions drawn from real-world hunting or another simulator.
Learn where lodge services are located
The pre-release walkthrough shows several preparation stations. Learning their locations saves repeated searches through the lodge.
| Lodge location | Function shown in player experience | What to check |
|---|---|---|
| Loadout bench | Weapon purchasing, inventory, and customization | Chambering, ammunition, optics, attachments |
| Laptop store | License purchasing | Target species and remaining tags |
| Upstairs sleeping area | Time adjustment | Current time versus target time |
| Wardrobe | Clothing and backpack selection | Capacity and noise trade-offs |
| Garage | Vehicle selection, recall, and accessories | Companion transport and storage |
| Kennel | Companion selection and equipment | Bring your dog before departure |
For early progression outside the demo, buying every possible tag immediately is not necessarily efficient. A more focused approach is to fund the license and equipment needed for your next planned hunt, then expand your options as your budget allows.
These Hunting Simulator 3 tips are about reducing avoidable mistakes, not buying the most expensive equipment first.
3. Find Animals by Combining Need Zones and Time
Walking until something appears can work, but it gives you little control over an unsuccessful session. Player experience describes feeding, drinking, and sleeping zones, alongside species schedules in the field journal.
Use those systems together. A zone tells you where an animal meets a need; its schedule helps you decide when that location is worth checking.
Build a repeatable search route
Start with one species rather than chasing every icon:
- Open its journal entry and review its activity schedule.
- Find a relevant discovered need zone.
- Mark the destination.
- Choose a nearby travel point.
- Adjust the time if a sleeping location is available.
- Approach and observe before moving elsewhere.
In the preview walkthrough, the circular schedule uses red segments for nutrition-related activity and blue segments for sleep. Read the target species’ entry rather than applying one animal’s routine to everything.
Do not interpret every red segment as a guaranteed drinking window. The walkthrough groups food and water under nutrition, so the zone type still matters.
Use watchtowers as planning hubs
According to player experience, watchtowers offer fast travel, sleeping, and vehicle recall. Campsites provide fast travel but do not offer the same vehicle-recall function in the demonstrated build.
That distinction matters when choosing a destination: the closest travel point may leave you with a longer walk than expected.
One of the most practical Hunting Simulator 3 tips is to plan your return trip before beginning your approach. Mark a nearby watchtower or lodge so you know where to regroup afterward.
Understand waypoint behavior
The walkthrough demonstrates a quick waypoint placed with the middle mouse button and additional map markers placed with the left mouse button. These are preview PC controls, so verify your bindings.
Some markers appear on the compass only within a certain distance. If a marker disappears, check the map or handheld navigation device rather than assuming it was deleted.
In the demo, also respect the playable-area boundary. Player experience reports that crossing it can trigger a countdown and return you to the lodge.
4. Read Animal Reactions and Recover Your Harvest
Finding wildlife is only half the hunt. Learning what its signals mean helps you avoid rushed shots and recover animals more consistently.
The field journal is particularly useful here. Player experience describes entries covering animal senses, hunting pressure, hit reactions, and blood trails.
Learn the warning colors
The preview walkthrough identifies four animal-state indicators:
| Indicator appearance | State described in player experience | Practical response |
|---|---|---|
| Soft white | Calm | Keep observing and prepare carefully |
| Rounded yellow triangle | Alert | Pause and reassess your approach |
| Spiky orange triangle | Fleeing | Note the escape direction; avoid rushing |
| Spiky red triangle | Aggressive | Watch the animal closely before acting |
These signals provide context, not a guaranteed outcome. An alert animal is a reason to reconsider movement, noise, and exposure rather than immediately forcing a shot.
Treat blood and hit reactions as clues
The walkthrough’s journal examples describe a mule-kick reaction as a sign associated with a serious heart or lung hit. Blood appearance provides another clue:
| Trail appearance described in the journal | Associated hit |
|---|---|
| Pinkish blood with bubbles | Lung |
| Crimson blood | Heart |
| Gritty material with brown, green, and red coloring | Gut |
Use these as in-game tracking clues, not certainty that an animal has already fallen. Watch its departure direction and use a waypoint to preserve your reference point.
For beginners, the most useful Hunting Simulator 3 tips after firing are simple: stop, observe, mark, and track. Immediately running forward can make it harder to remember where the animal stood or which direction it traveled.
Review the hunt afterward
Player experience shows a hunt-history menu with shot replays and separate trophy and hunter scores, ranging from bronze to platinum.
Study both results. Trophy quality and hunting execution are not the same thing, so a disappointing result should prompt a closer look rather than an immediate weapon purchase.
For trophy selection, consult the journal’s age and life-cycle information. The walkthrough discusses prime animals, but does not establish a reliable long-term herd-management formula.
5. Prioritize Useful Gear, Dog Transport, and Comfortable Settings
Once the basic loop makes sense, upgrades should solve problems you actually encounter.
Choose visibility and capacity deliberately
The preview player recommends Prime 10x25 binoculars because their demonstrated 1.5–10x zoom range makes scanning nearby terrain easier than the starter binoculars’ narrower 8–10x range.
That is player experience, not a verified launch-day ranking. Check current item descriptions and compare minimum magnification as well as maximum zoom.
The walkthrough also shows a backpack that adds an extra weapon slot and more gear capacity, but increases movement noise. Extra equipment is useful only when its flexibility outweighs that drawback.
| Upgrade or adjustment | Problem it can address | Trade-off to consider |
|---|---|---|
| Wider-range binoculars | Difficult close-range scanning | Purchase cost |
| Larger backpack | Too few weapon or gear slots | More movement noise in the preview |
| Vehicle dog storage | Companion falling behind while driving | Uses a vehicle accessory choice |
| Dead-animal highlighting | Difficulty locating fallen animals | Less demanding visual searching |
| Blood-trail drop-rate adjustment | Trouble following trails | Changes tracking difficulty |
| Reduced camera motion | Distracting head bob or shake | Personal preference |
Confirm your dog has boarded
According to player experience, taking a dog from the kennel does not automatically provide vehicle transport. The demonstrated vehicle needs the dog-storage accessory.
Equip the appropriate accessory and wait for the on-screen boarding notification before driving away. Practice the companion wheel near the lodge, where learning commands is easier than during a recovery.
Adjust settings before struggling through a hunt
The walkthrough recommends trying custom difficulty, dead-animal highlighting, and blood-trail adjustments. It also suggests disabling head bobbing and camera shake if those effects feel uncomfortable.
For PC controls, consider familiar bindings such as C for crouch, T for auto-walk, and X for the companion wheel. These are suggested remaps, not confirmed defaults.
The best Hunting Simulator 3 tips should make the game easier to learn without dictating your preferred difficulty. Start with readable feedback, then reduce assistance if you want a greater tracking challenge.
Hunting Simulator 3 Tips FAQ
Does the Hunting Simulator 3 demo save progress?
No. The official demo announcement states that progress is not saved and hunts do not award in-game currency. Use sessions to practice navigation, shooting, tracking, and companion commands.
How do you change the time?
Player experience from the pre-release walkthrough shows sleeping upstairs in the lodge and at watchtowers. Select a target time and compare it with your chosen species’ activity schedule before traveling.
Why can’t I bag an animal I found in the demo?
The official announcement limits licensed hunting and bagging to three species. Other wildlife can appear, but its presence does not mean the necessary license is available in the demo.
What should a beginner check before every hunt?
Confirm your target species, available license, approved ammunition, and destination. Then check the activity schedule, companion transport, and return route. That short routine prevents many of the most frustrating early mistakes.
Related Guides
Hunting Simulator 3 game mechanics: Beginner Guide
Learn Hunting Simulator 3 game mechanics, from SimFauna wildlife and dog commands to weapons, tracking, gear, and demo limitations.
Hunting Simulator 3 system requirements: PC Guide
Check Hunting Simulator 3 minimum and recommended PC specs, RAM, graphics cards, storage, and demo availability before launch.
Hunting Simulator 3 trophy list: Status and Guide
Check the Hunting Simulator 3 trophy list verification status, understand Gold animal ratings, and prepare a reliable achievement checklist.
Hunting Simulator 3 early access: Demo & Release Guide
Hunting Simulator 3 early access explained: Steam demo availability, October 29 release, platforms, PC specs, and what preview gameplay reveals.
Hunting Simulator 3 PC: Release, Specs & Steam Guide
Get Hunting Simulator 3 PC release details, system requirements, Steam demo availability, controller support, and practical hunting tips.